Are you fascinated by technology and eager to try your hand at building something smart? DIY tech projects are a fantastic way to explore the world of innovation, even if you’re a complete beginner. With the right tools and a little patience, you can create a gadget that’s both functional and fun. Let’s dive into a step-by-step guide for a beginner-friendly DIY project: building your own smart lamp.
Why a Smart Lamp?
A smart lamp is an excellent starting point for any DIY tech enthusiast. It’s simple enough for beginners yet offers room for customization. You’ll learn about basic electronics, programming, and integrating Internet of Things (IoT) functionality—all while creating something useful.
What You’ll Need
Here’s a list of materials you’ll need for this project:
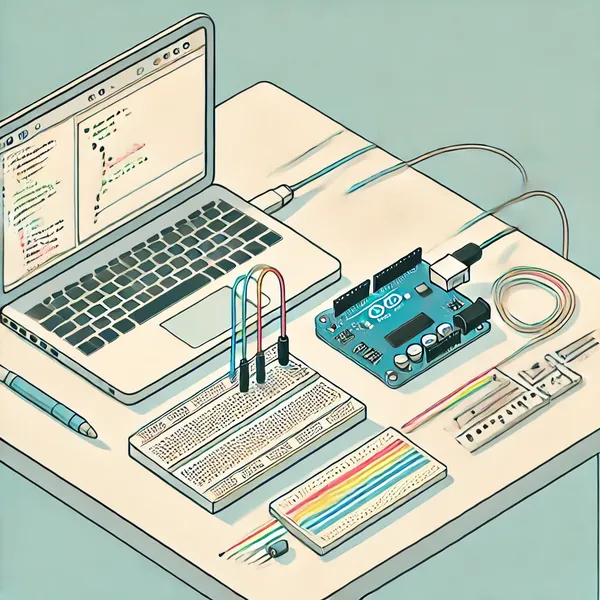
- Microcontroller: An Arduino Uno or ESP32 (if you want Wi-Fi capabilities).
- LED Strip or Bulb: Choose RGB LEDs for a colorful experience.
- Power Supply: A 5V USB power adapter or battery pack.
- Breadboard and Wires: For easy prototyping.
- Resistors: To control current flow.
- Sensors (Optional): Light or motion sensors for added functionality.
- Smartphone or Laptop: For programming and controlling the lamp.
- Enclosure: Use a lamp base or create your own using wood or 3D printing.
Step 1: Assemble the Electronics
- Connect the Microcontroller: Attach the microcontroller to the breadboard.
- Add the LEDs: Connect the LED strip’s power, ground, and data lines to the appropriate pins on the microcontroller.
- Set Up the Power: Ensure your LEDs and microcontroller are powered using the same source to avoid mismatched voltages.
- Optional Sensors: If using sensors, connect them to the microcontroller’s input pins.
Step 2: Program the Microcontroller
- Install Software: Download the Arduino IDE or an equivalent platform.
- Write the Code: Use a pre-built library like FastLED or Adafruit NeoPixel for controlling LEDs. Here’s a simple example:
#include <FastLED.h>
#define LED_PIN 6
#define NUM_LEDS 30
CRGB leds[NUM_LEDS];

void setup() {
  FastLED.addLeds<WS2812, LED_PIN, GRB>(leds, NUM_LEDS);
}

void loop() {
  for(int i = 0; i < NUM_LEDS; i++) {
    leds[i] = CRGB::Red;
    FastLED.show();
    delay(50);
    leds[i] = CRGB::Black;
  }
}- Upload the Code: Connect your microcontroller to your computer and upload the code using the IDE.
Step 3: Add Smart Features
If you’re using an ESP32 or similar Wi-Fi-enabled microcontroller, you can integrate IoT features:
- Voice Control: Use services like Alexa or Google Assistant to control the lamp.
- Smartphone App: Create a simple app using MIT App Inventor or integrate with platforms like Blynk.
Step 4: Assemble the Lamp
- Prepare the Enclosure: Place your electronics inside the lamp base or custom enclosure.
- Secure Connections: Ensure all wires are insulated and components are firmly attached.
- Test the Lamp: Power it on and ensure everything works as expected.
Step 5: Customize and Experiment
Here’s where the fun begins. Customize your lamp by:
- Adding motion detection to turn on automatically.
- Programming dynamic lighting effects (e.g., color cycling or sound-reactive modes).
- Incorporating a dimmer feature with a potentiometer.
Tips for Success
- Start Small: Focus on basic functionality before adding advanced features.
- Learn from Tutorials: Platforms like YouTube and Instructables offer great step-by-step guides.
- Troubleshoot: Don’t be discouraged by initial failures; troubleshooting is part of the learning process.
Why Try DIY Tech Projects?
DIY tech projects empower you to understand the gadgets you use daily. They spark creativity, improve problem-solving skills, and might even inspire a passion for engineering or coding. Plus, they’re a lot of fun!
Conclusion
Building your own smart lamp is just the beginning of your DIY tech journey. Once you’ve mastered this project, the possibilities are endless—from smart thermostats to home automation systems. So gather your tools, ignite your curiosity, and dive into the exciting world of DIY tech projects!